Have you ever checked into an Echolink net and noticed the widely varying audio levels from the different stations?
Of course you have! We all have. Sometimes we struggle to hear one station and the next one blasts us out of the water with a signal so loud that it’s clipped into distortion and may even be difficult to understand. Why do signals vary so widely on these VoIP-enabled nets? Is there anything we can do to make sure our own signals are reasonably audible but not driven to distortion?
Let’s get to the “why” first. Echolink offers three main ways to access the net:
-
Via RF using a radio to access an Echolink, IRLP, or WIRES enabled repeater system or micronode.
-
Through a computer, by using the Echolink application or a similar app if you use a Mac.
-
With a smartphone or tablet, using the Echolink app for Android or iOS.
If you are accessing the network through an RF link, It is up to you to make sure that you are not overdriving your transmitter to the point of distortion. Hold a handheld radio slightly off to the side instead of directly in front of your mouth. This will also help to prevent “puff” sounds as you speak. There is no need to shout, and you should be able to position the radio within about 4 inches of your face. The idea is not to be too close since you will get popping or puffing noises when you speak, nor too far, in which case background noise will start to intrude as the radio’s automatic gain attempts to crank up the volume. If everyone using a particular system is experiencing bad audio reports, pass the information on to the node owner or repeater operator. Something may be wrong with a setting or component.
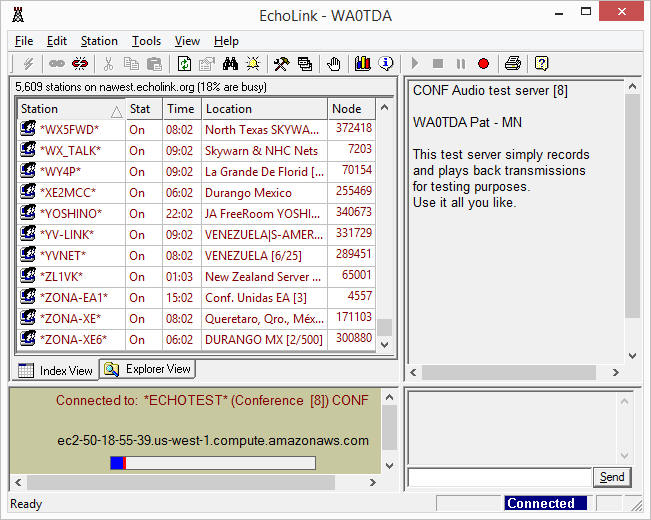
If you are using a computer, be sure to set up and test the audio settings before getting on the net. You can do this with the Echolink Test Server.

You will find the test server by going to the Station Menu, and it will be one of the expanded menu options. You can save the test server in your favorites. If you wish to access the test server from a radio’s numeric touch pad, type in 9999, the Echotest node number when using an Echolink-enabled repeater system.
The test server allows you to make a test transmission, then when you toggle back to receive, it will play back your audio. If you don’t hear anything, check your computer’s recording settings to make sure the correct device (microphone) is connected and has its levels set. If you hear distortion, back down the level.
-
Tip: Remember to check your audio settings after using other apps that make use of the sound card, such as voice dictation software, since it can automatically readjust recording input settings.
-
Tip: If you use an external microphone, be sure it is not muted. Some of them have a mute button.
Finally, let’s look at smartphones and tablets. Whether you are using Android or iOS, the Echolink app is available and very easy to use. The best part is that it supports “relay” through wireless connections, bypassing firewalls and making things easy. You should still connect to the Echolink test server, though – especially if you are setting up the application for the first time. You will want to make some test transmissions to make sure that you are holding the phone or tablet in a way that allows for good audio input. The time to test is when you are using the test server, but if you need additional help deciding if your signal is okay, you can always ask on the air.
-
Tip: If you can’t hear other stations when you use your smartphone, check the little speaker icon in the upper right corner of the Echolink app. It allows you to toggle between the device’s speaker and earphone settings in some cases.
-
Tip: If you get a bad audio report from other users, take it seriously. Back off the mic or speak up, as the case may be.
This is practical radio – Learn to use Echolink to your best advantage!